Category Archives: before and after

A Little Masonry

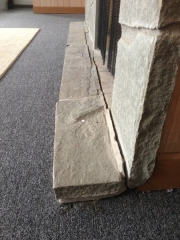
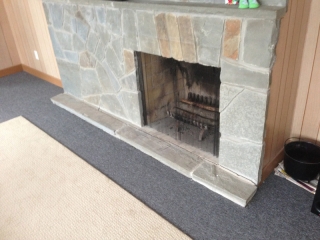
I like to learn to do all sorts of random things. A few weeks ago, I got sick of looking at the bottom ledge stones of the Family Room fireplace. The floor in the family room has settled significantly, and that shift in the floor resulted in the base those stones were set on shifting downward, pulling the stones away slightly. My grandparents had just dealt with it as long as I’ve been around, but I had it on my to-do list for awhile, so I bought some mortar and got to work.

Here is where it looked like before. You can see the stones pulled away and not level:


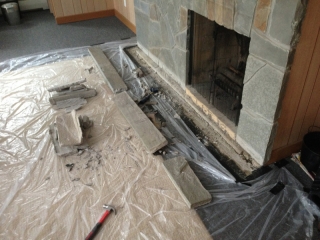
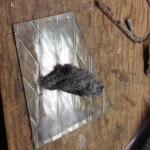
To start, I removed all of the existing mortar and got a nice, clean base to rebuild on. Once the stones were out I could see exactly what had happened: the block chimney hadn’t settled at all (the house walls are built very well), but the outside edge of the stones rested on the four-inch slab of the downstairs floor. This floor had a design flaw (from investigation, I believe a poor base was put under it – mostly sand for heat absorption for the radiant heat) and it sagged significantly. At the point it met the chimney, it was down almost an inch from where it was originally constructed.


Continue reading

Shut The Front Door

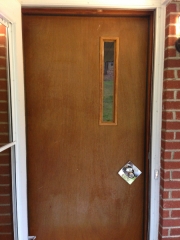
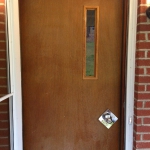
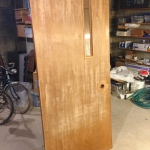
A project that had been on my to-do list since before we moved in, but was always put off, was refinishing the front door. The house has a solid wood birch-veneered door. It’s a pretty sweet mid-century touch, but the exterior side was in need of some TLC. Before she moved out, Grandma had told me that she had stained\polyurethaned the door previously, but I wasn’t sure. Years of exposure to the elements and indirect sunlight had dried out the finish. The interior side was in great shape, however. Here’s the before look:


First a note to all of those who think they should just replace their doors: Solid wood doors are not only more aesthetically pleasing, they are just as (or nearly as) efficient as metal or insulated doors. If you have an older door that lacks or has minimal weatherstripping (like ours), you can add good weatherstripping yourself with a small amount of effort (another story and another task.)

I originally through I would stain and polyurethane the door. I had always had trouble figuring out what color the stain was – none seemed to match. Turns out my father in law mentioned one day that he thought that, given the age of the house, most things were shellacked instead of stained and polyurethaned. His hunch was accurate – everything in the house is generally finished with amber shellac. I will point out that this stuff is much nicer than stain\poly to work with and turns out a finish that looks more natural and much warmer.

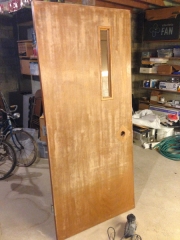
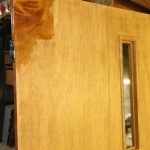
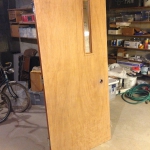
To refinish this door, I took it down into the basement and sanded it. To start I needed something pretty beefy, so I used 60 grit, which will take anything off pretty quickly. I then moved on to 180 and 220 sanding to smooth the surface out. It’s important to note that if you want a uniform finish color, you need to be thorough in terms of what you remove – if your base still has spots of old color, they will show up in your finished product as darker spots.


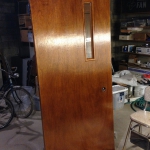
This project took a few days to complete, but working with amber shellac was much, much easier than stain and poly. Shellac does not smell the same as stain, and it can have a second coat put on within 1-2 hours. It is also a one-step finish – the color and the protectant seal are in the same application. You do not have to stain, then wait, then poly, then wait, then put a second coat of poly on.

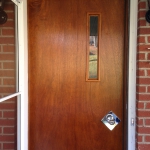
Here’s the progress from start to finish:

Family Room Before and After

This is another “older” story – this one occurred this last spring, but I’m only just now getting around to sharing.

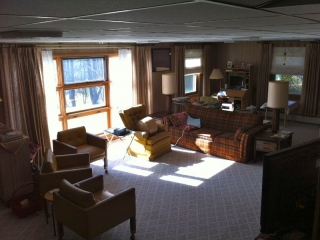
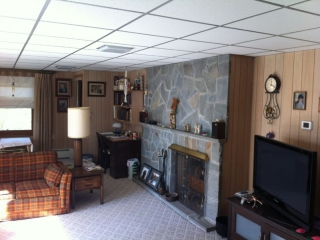
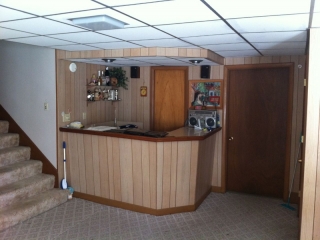
In the spring, Mary’s family called up and asked if we would be willing to host Easter for the family. Of course, we said yes – we have a house built for entertaining. By this time a lot of the biggest projects in the house were set, but only one more remained: replacing the flooring in the lower level family room. Around 2000, my grandparents decided they wanted to replace the carpeting that was in this room. They replaced it with a berber carpet and a spongy pad underneath. A little bit more history here first, though: Originally this room had a gray and pink tile floor, and around 1980 they laid glue-down office carpet, which remained until the berber came along. Here is where this room started from when my Grandmother was living here:


Continue reading

Lamppost Repair

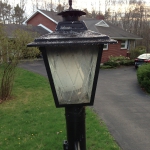
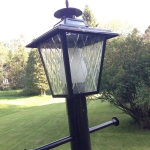
Outside the house are a nice matched (or at least close) exterior lights – three at the doors, and two lampposts on the driveway. Before moving in I was sure we were going to replace them. I had even gone so far as to pick out what I thought we would get. But as we got into the interior renovations, we realized that one of the key colors of the house was black – black metal interior railings, black metal supports for the back patio, and black exterior lighting. Cleaning and repainting the railings really made me realize how good they look if you just clean and paint them. Most of these also have an accessory outlet in them, making them super convenient if you need electricity in the middle of the yard (for say, a weed whacker.) So off I went to try my hand at getting these looking awesome.

As you can see in the first couple of pictures, they were pretty whipped. I actually repainted these once back in the late 90’s. Somewhere in the interim, my Grandmother also asked my aunt’s husband to do it – he did it about as quick as you could with a can of spray paint, hence all the overspray on the glass. For this go-round, I took the lights completely apart and scrubbed them, giving everything a good steel wool (000 fine) wipe-down, including the glass. I then hit all the parts with the classic go-to: Rustoleum protective enamel in gloss black – the same stuff I use on everything. As a renovation note: I find you get far superior results brushing on the paint than using the spray paint version. The coverage is thicker and better, and the finish has a much better gloss qualities. Most of these old fixtures are also made of lightweight aluminum, which is easy to maintain and does not rust and therefore is good to keep.

I’m pleased with the results.  Of course there are five lights…so I have a bit more work to do:

Details, Details…

When it comes to the renovation work, I’m a stickler for the details – the little finishing components that help unify and bring together everything you see. They are what really completes a project and brings your original vision into focus. Here are some of the details around our house that you might not notice at first, but they were carefully considered:

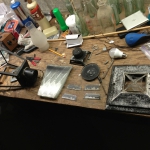
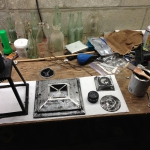
Bench legs – We have a fabulous kitchen banquette. It sits on ten short legs. They were originally gold in color – and made in Yugoslavia. The caps were rusty and they were clearly well-used, since they were original from 1961 or so when the bench was built. As part of finishing the kitchen remodeling, we got the bench recovered but I knew I also needed to tackle the legs. I could have found some new ones, but decided to see what I could do with what we had. Using the bench grinder and wire brush set on the workbench in the basement (thanks Grandpa Rynkus!), I stripped the wood, cleaned the metal, and eventually stained and repainted them. They now look like this:

Continue reading