Category Archives: interior

The Boy’s Room

Happy First Birthday Stephen!

Doug and I had “plan” last year right around this time—finish Stephen’s bedroom over my spring break from school once we knew what we still needed after the baby shower.

Stephen had a different plan. We welcomed him on the day of the baby shower, three and a half weeks early. Hooray! He’s arrived! He’s perfect! He doesn’t have a mattress on his bed, or sheets, or enough clothes to get him through a week. No big deal, babies sleep in their parents’ room for those first few months anyway.
New “plan”: we’ll just spend the first month snuggling him and getting his room finished.

You see where I’m going here? After a 9 day stint in the Neonatal Intensive Care Unit, and roughly 6 weeks of focusing all of our attention on making sure he was gaining enough weight, Stephen still didn’t have a finished room.

Long story not much shorter, Stephen’s room had the final touches completed in February after a trip to IKEA. Starting with the paint choices for upstairs, here’s the timeline behind what we feel is a pretty awesome room for our little boy.

After Doug and I had moved in, we chose a color palette for the upstairs bedrooms that would work in the master as well as rooms we knew would one day be for our kids. The goal for those rooms was to choose a color that would work for a boy or girl, and wouldn’t be outgrown as the kiddo got older. This Valspar paint is called “Ancient Olive”. We’re big on flat finish for rooms because it covers imperfections on the wall. This room stayed empty or held a few miscellaneous items for the months we were finishing the rest of the house and, well, not thinking about babies yet.

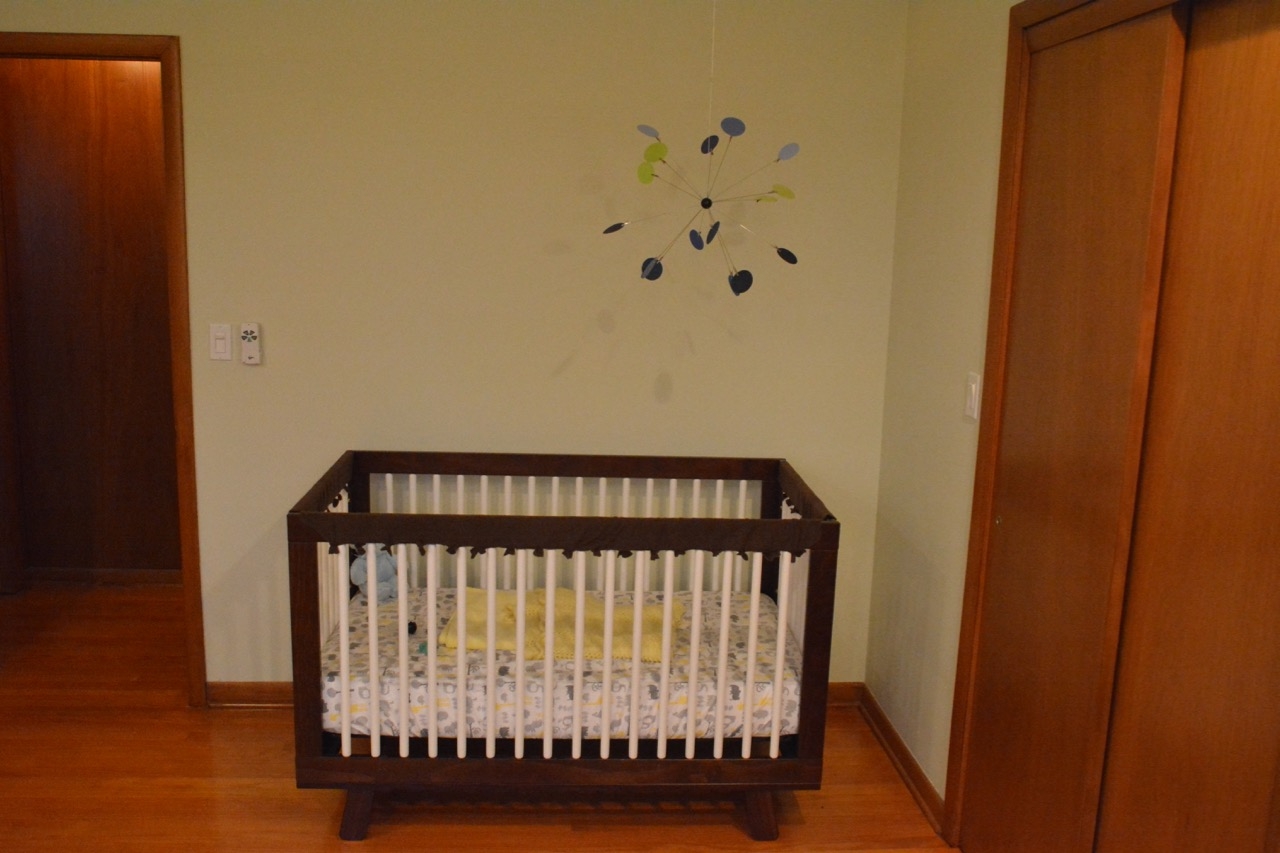
The first purchase for Stephen’s room was a Sputnik mobile from an Etsy shop called mdmobiles. The design was simple and the assembly was even simpler.

Next, we got his crib and changing table as gifts from my mother and sister. As it turns out, matching wood colors to amber shellac is next to impossible. That deep amber color can’t really be replicated with a different stain. The next best thing is to find complimentary wood finishes, and incorporate some white to break up the two different wood shades.

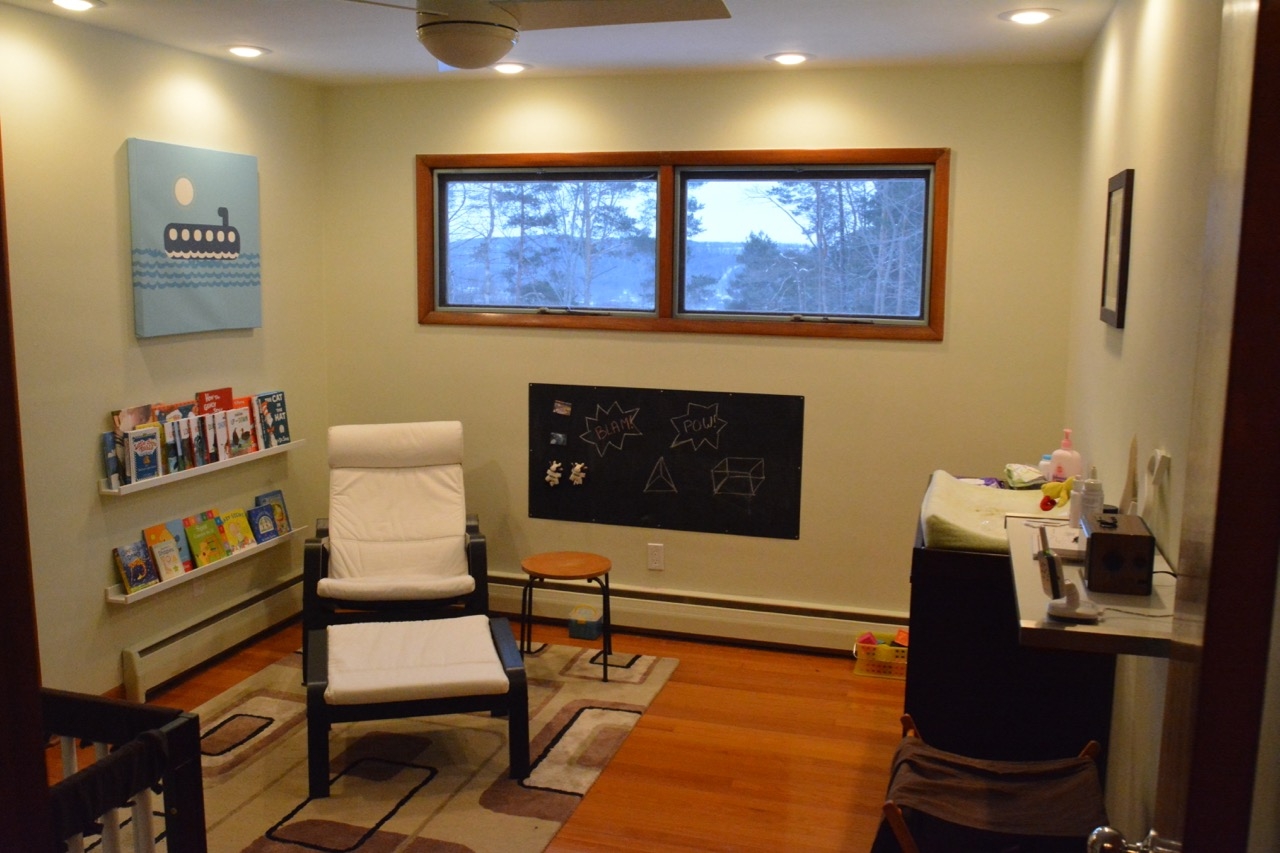
Since almost day one, Stephen has been known as “Scuba Steve” by our family and friends. While we tried to avoid any specific themes for his bedroom, the nickname made it much easier when looking for wall art for his bedroom (at roughly six months). This painted canvas is from the Things that Go collection “Submarining” from avalisa.com

His bookshelves are IKEA Ribba shelving. It was a non negotiable for me to have his book covers visible. They’re still deep enough to stack while still seeing all of the covers. Having two shelves allowed us to put beginner books on bottom and tearable books on the top. The other IKEA purchase in the room is the POANG rocking chair.

Finishing out the room is the chalkboard wall. Doug used a magnetic metal sheet and painted it with chalkboard paint. So far, he and I have had a blast writing on it. Eventually, another RIBBA shelf will be added as a chalk tray.

Enjoy your room, Stephen! We’re never changing it.


Kitchen Drain Fix

A few months ago, after an event at the house, we ran into an issue I had resolved once prior: the kitchen sink was draining incredibly slowly (almost plugged, but not quite.) Back when we first moved in, in November 2012, this same problem occurred. At the time, I called a local drain service and had them do a clean out on the drain line and all was well. I had figured this would hold up for a number of years (more than 2), but apparently that was not to be.

Most of the drain lines in our house are copper pipe – something that would be unusual now, when PVC is used. The plumbing “stack” for the bathrooms is on the other end of the house, and is all copper, but there is a section of drain for the washer, dishwasher, and kitchen sink that runs through the basement. For some reason, this section of drain line was installed with “black pipe,” a mild steel pipe. Turns out, this is bad news for drain pipe. Why? Black pipe easily supports all of the nasty slime that grows inside of drain pipes. It builds up quickly and clogs the pipe. So, the solution was to replace it with new drain pipe – PVC.

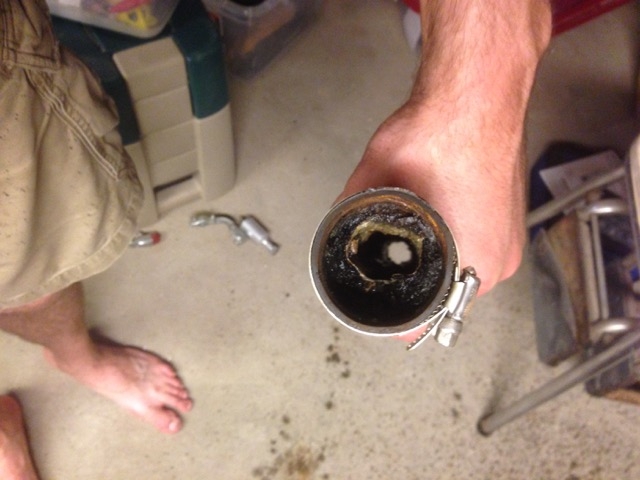
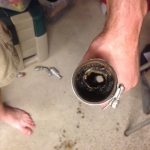
This gave me a chance to try out a new tool I had – a reciprocating saw attachment for my Craftsman Bolt-On drill (a really cool system, BTW. Compatible with Black and Decker Matrix line, FYI.) So I cut out the old pipe and built a replacement one in PVC. How plugged was the old pipe? Have a look:

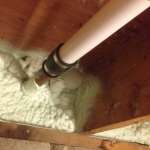
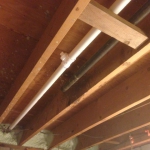
Here is the process and the new pipe. I attached the new PVC to the existing copper stub coming from the wall for the kitchen sink\dishwasher drain, then ran it across the basement to connect to the rest of the PVC junctions. This turned out to be an easy fix – about $60 worth of parts, versus $120 to do the clean out previously. Huzzah!

Getting The Radiant Heat Back

Given that it’s -4F outside right now, it seemed like a post about the heating system we use in the house – and some repairs I had to do to it – was appropriate. This is the (somewhat long) story of repairing one of the signature features in our house: the in-floor radiant heat on the lower level.

As a split-level house, we have one floor (family room level) that is concrete slab-on-grade. There is one problem with slab-on-grade construction in the Northeast: the concrete gets painfully cold in the winter. When designing the house, my grandfather was aware of this fact and had installed – in 1959 – radiant heat tubing embedded in the concrete. With the radiant heat, warm water is pumped through the piping and keeps the floor (and the room) warm.

Because of the radiant heat, the house was also outfitted with hot water baseboard heat on all levels, separated into three zones (one for each level – no heat in the basement.)

There was, however, a problem with the radiant heat in winter 2009. My grandmother had called and indicated that the family room with the radiant heat was very cold and that she had called a local plumber to take a look. This plumbing outfit took a look at the radiant configuration – copper tubing embedded in concrete dating to 1959 – and told her that it was broken beyond repair. They really didn’t do any testing or anything, they just assumed it was bad and told her the best option was to install some (very ugly) hot water baseboard radiators in that level of the house.

Continue reading

Mid-Century Compatible Bathroom Floor

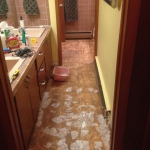
One project I was wanted to finish before the baby arrived was to replace the floor in the upstairs bathroom. About seven years ago, my grandmother had the original flooring, which was a white and green tile that was coming up in many places, replaced with some relatively inexpensive linoleum sheet flooring. This flooring was not particularly bad (it was unobtrusive visually since it blended) but it definitely was not mid-century compatible, and I wanted to fix that.

Having had some experience doing this before when we replaced the kitchen floor I had a lot of experience checking out and examining options for flooring that would fit in well. In the end, we decided that the best course of action would be to use the same flooring that we used in the kitchen but in another color. That flooring was Armstrong Striations – this time in the color Atmosphere. The rationale for doing this was pretty straightforward: Visually throughout the house, all of the wood flooring have grain going in one direction. With the kitchen flooring, I intentionally aligned the pattern of the tile to follow this grain pattern. The exception is the foyer floor, which is laid on a 45 degree bias. This ties all of the flooring together visually and creates a “hub” that is different in the foyer, which is the natural hub space of the house.

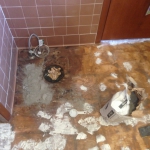
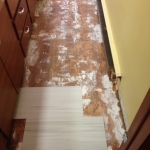
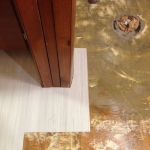
Replacing linoleum is pretty straightforward – you pull up the glued linoleum, carefully peel up the luan underlayment to expose the original subfloor, then patch and level. Around the toilet space there was a dip in the floor that I had to deal with by putting some patch in the low spot. I didn’t get it perfectly level, but it’s much better than it used to be. To ensure the tiles are smooth once laid down, I put more patch (the white spots) on the flooring where there were nail and staple holes.

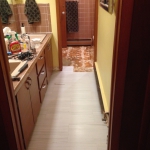
Once prepared, laying the floor took a single evening. Starting at one end of the room you steadily work your way down the room. In a room this size it’s easiest to just make your cut pieces and fit them in as you go – in a larger room you typically lay all of your whole pieces first, then go back around the edges and put in your cut pieces. Because of the way the tiles fell I had one very difficult cut to make around the pocket door frame. It took 2-3 tries to get it right, but ultimately I was satisfied with the look.

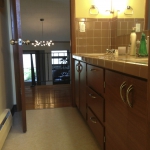
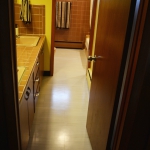
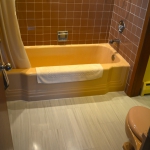
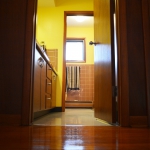
Now that it’s finished and has been given a coat of polish, I’m very happy with the results. While new and modern, the floor fits very well with the mid-century aesthetic of the bathroom since it has all vintage fixtures and hand built cabinetry.

Here are the progress shots:


Boom Shellac-Laca

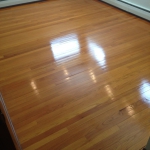
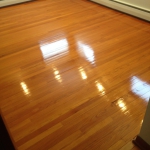
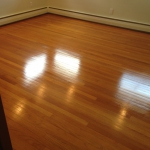
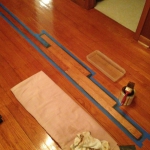
One day shortly after moving into the house, my father in law was over and we got to discussing the fact that I was having a hard time matching the color on the floor with stain for a few spots that needed some touching up. He pointed out that given the age of the floors, they may very well be finished with amber shellac instead. I did some quick research and picked up some from the store. I tried it out and it turns out he was exactly right.

Shellac flakes

Shellac in flake form

What is shellac, you may ask? Well, shellac is a natural resin that has been used for a very long time (centuries, I believe) as a protectant for various items, not just wood. It is produced by insects and harvested as flakes. To use it, the flakes are dissolved in denatured alcohol so it can be spread evenly on a surface. You can order the flakes and make it yourself, but it is usually just as easy to purchase it pre-mixed locally, unless your needs are very specific (like you need a unique color)

Up until the 1950s with the advent of polyurethane, shellac was one of the most popular wood finishes. It is all natural, goes on quickly, and dries very hard and durable. Polyurethane is technically more durable, but is has a somewhat “plastic” look (because it is a plastic coating.) Also, if you have worked with polyurethane you know the fumes are terrible and you have to wait a very long time (up to 24 hours) between coats.

Pre-made shellac

Pre-made shellac

Of course, this meant that I had to shellac all the wood floors in the house.

Because I’m using shellac, this isn’t quite as big of a project as you may think. Unlike polyurethane, when you have a shellac coating, you can simply add another coating on top of the existing – you do not have to strip, re-stain and then put down a new top coat. Shellac, including the stuff on your floor already, can be re-dissolved with denatured alcohol. So when you add a fresh coat, what is actually happening is it slightly melts the original coat, blends them together, and they harden as one single topcoat.

Other cool things about shellac:
1. You can thin shellac as needed with more denatured alcohol.  When you thin it, it makes it more runny and easier to apply evenly to a horizontal surface like a floor without getting “lap marks” (lap marks are the places where you did two strokes side by side and you can see where they overlapped.)
2. Shellac is able to be re-coated in as little as one hour.
3. Shellac is all natural – denatured alcohol has a low odor and unlike polyurethane, you do not have to clear the room for a day while applying it. The alcohol (denatured alcohol is basically distilled spirits with a chemical to make it taste terrible) evaporates away, leaving nothing but the shellac resin when dried.
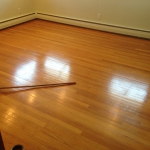
4. When you have a scratch, you can brush a little bit of denatured alcohol over the spot and it will melt the existing shellac and allow you to “patch” the scratch relatively easily.

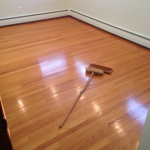
It took about two weeks to do all the floors in the house. I went through first and ensured that any nail holes leftover from the carpet tack strips were filled, then I just tackled one room at a time. To do a project like a floor, a lambswool applicator is a must – they are cheap and allow you to do the entire floor in minutes.

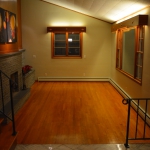
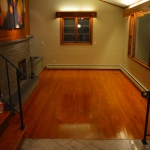
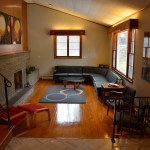
Here’s the before and afters for various rooms: